foxglove
Foxglove is similar to rviz however one of its biggest feature is its ability to connect over the internet.
This is nice for wireless robotics setups but still need a rviz visualization.
You are also able to record and play back sensor data and visualize it in foxglove.
Using foxglove
First make sure you know the ip of your robot.
How to get robot ip:
To find the robot’s ip run on the robot computer:
ifconfig
To test if your laptop can “see” the robot’s computer you can run:
ping <your robot's ip>
If there is no response then it could be a problem with your IT department or you are on a different WiFi.
For now I recommend using your phone’s hotspot to connect between the computer and robot.
how to connect robot jetson/rasberry pi to hotspot
TODO link ssh guide
A more permanent solution is to use talescale
Next follow the official foxglove guide and then come back to this guide
When you get to the section that says localhost you can replace it with the robot’s ip
Once you are able to manually start the foxglove node on your robot you can add this line to your launch file to automatically start it:
ros_bridge_server = ExecuteProcess(cmd="ros2 launch rosbridge_server rosbridge_websocket_launch.xml".split(' '), output='screen')
Setting up visualizations
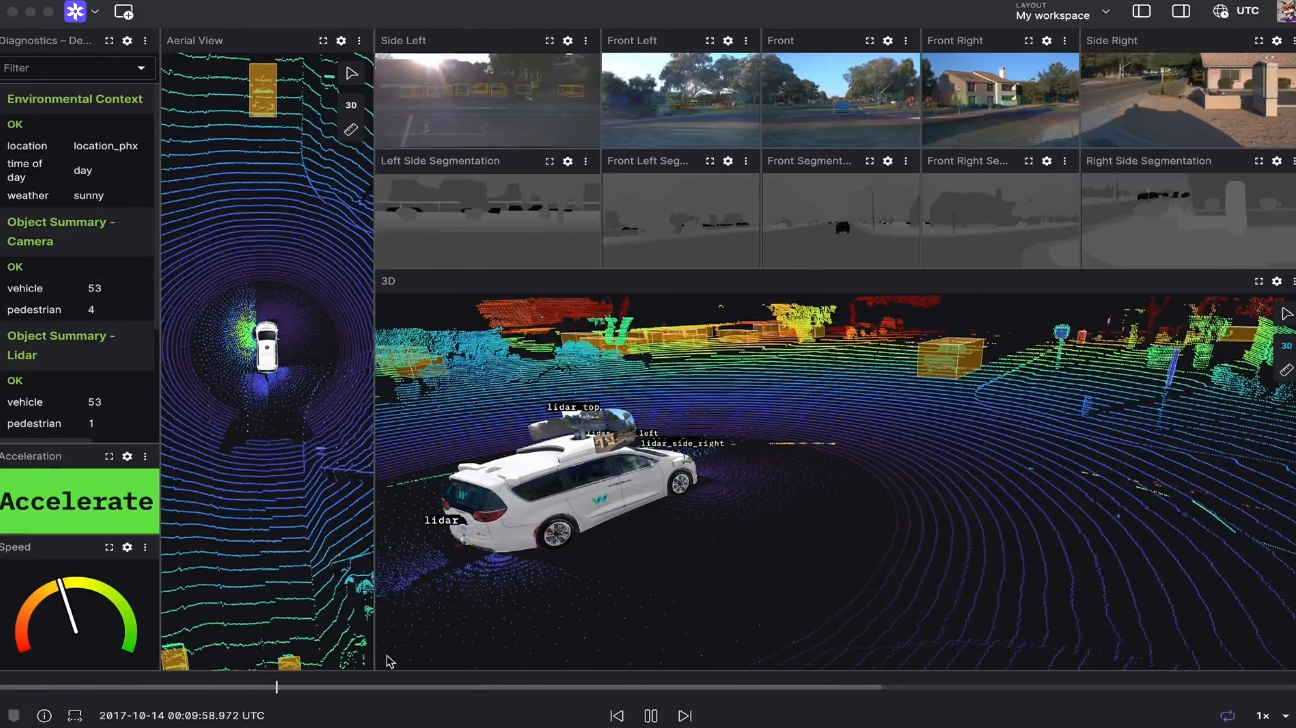
It is worthwhile to look though the different types of panels that foxglove offers. However, to just view the scanned map you just need to add a 3D panel.
Look though the list of topics on the left to find the Laser scan and Grid Map and enable them to view them. The way to add them into the view is similar to rviz. It is recommended to play around and find what else can be viewed.
publish goal pose
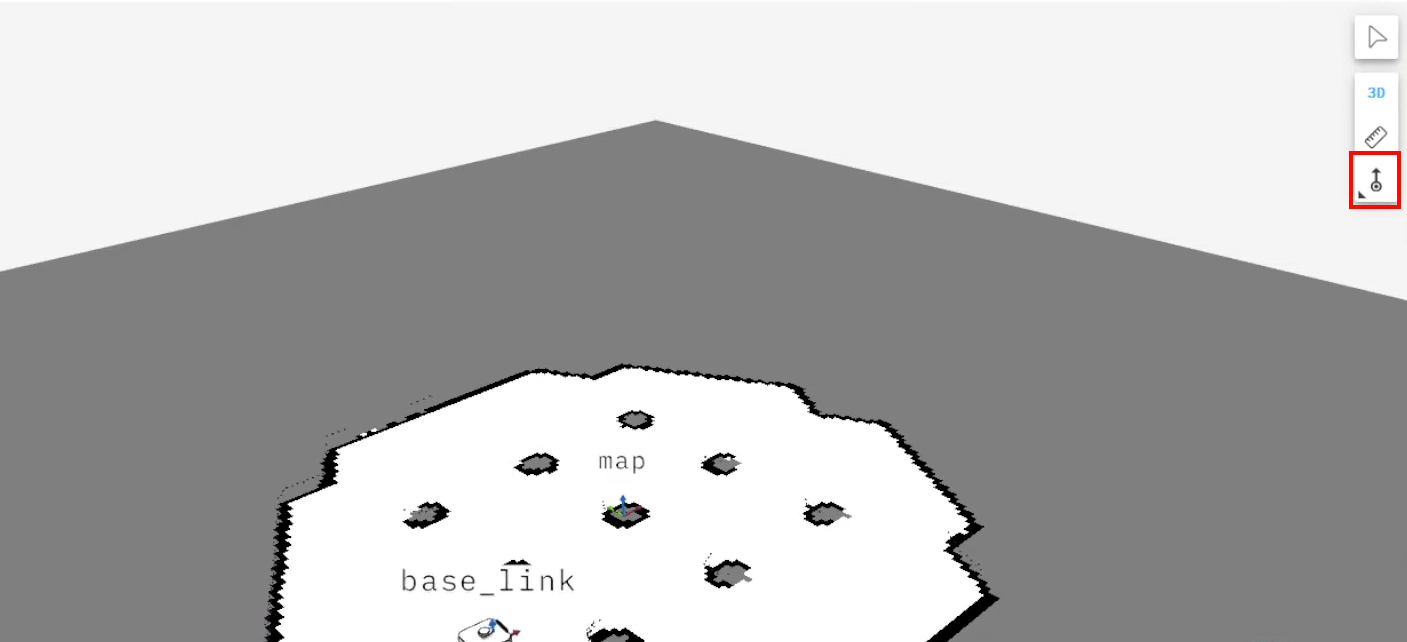
There is also a way to publish a goal pose just like in rviz near the top right of the 3D panel
You can change the topic it publishes too in the settings tab
saving map with foxglove
There is a service call panel where you can easily make ros2 service calls. Using service calls you are able to save a scan of the map from SLAM.
To start first start the robot launch file with SLAM and foxglove nodes
Note you don’t need to turn on nav2_bringup to scan the map
Then add a new service call panel in the service name box select /slam_toolbox/serialize_map
Then in the request section input the place where you want to store your scanned map too in the “filename” field.
Do the same for the /slam_toolbox/save_map service.
It is also recommended to turn of editing mode.
Then drive around for a bit and look at the 3D panel to see if you have scanned enough of the map and hit the two service buttons you just made. This should save the map just like in the rviz plugin.