How to J-Link
Following this tutorial, you should be able to use a J-Link with one of the dev boards to be able to step debug, watch variables change live, and watch a live graph of certain variables
If this is your first time setting this up, skip the next few instructions and jump down to “Many of the steps …”
This section should allow you to be able to watch variables live assuming you already have Ozone installed.
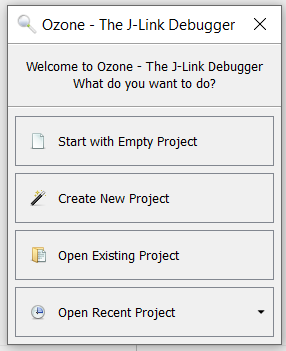
Start Ozone per usual, and select open recent projects. This should open your last opened project.
Connect the Type-C, J-Link, and a battery to the Type-C (the J-Link does not supply power to the board).
Make sure the battery is on. It will throw an error if it is not.
Make sure you have the J-Link plugged into your laptop.
Press the green power icon at the top left of Ozone:

It may have a pop up for flashing to the board. Let it run and once it’s done, you should see the program paused on the main method indicated by the green highlight on that line of code.

To add a variable to watch, right click the variable and click “Watch”. This will add the variable to the “Watched Data” tab.
To add a variable to be live graphed, there are a few requirements
- Has to be a primitive variable that is 8 bytes or less. (double, float, uint8, uint64, int8, int64, etc).
- Has to be a global variable
To actually add the variable, right click the variable where it’s created and choose graph. Nothing will pop up and we need to add another window.
At the top of your screen, click view, then “Timeline”. This is where the variable will be graphed.

You should see a window similar to:
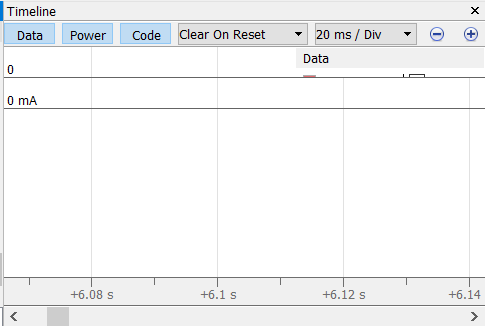
To get your variable, only select data (have only data highlighted in blue), and make sure the variable you want to watch is checked marked.

Now just resume the program and watch your variable change. You may want to change the time steps per division, or else, I doubt you’ll be able to actually see anything. 2s/div is what I typically use.
While debugging, before you flash to the board REMOVE ALL BREAKPOINTS. Or you will brick the board.
Many of the steps to this were taken from the Taproot tutorial found here: https://gitlab.com/aruw
- Install Ozone - The J-Link Debugger
The program you want should look similar to what’s below.
(Be sure you’re getting Ozone and not a documentation package!)
Just download the installer for your device and run it. (If you have a school computer it’s probably the 64-bit Installer for Windows)
- Run Ozone
My shortcut looks like:
- Select Create New Project
If you do not have the J-Link plugged in, Ozone will not know which debugger you are using. So choose J-Link.
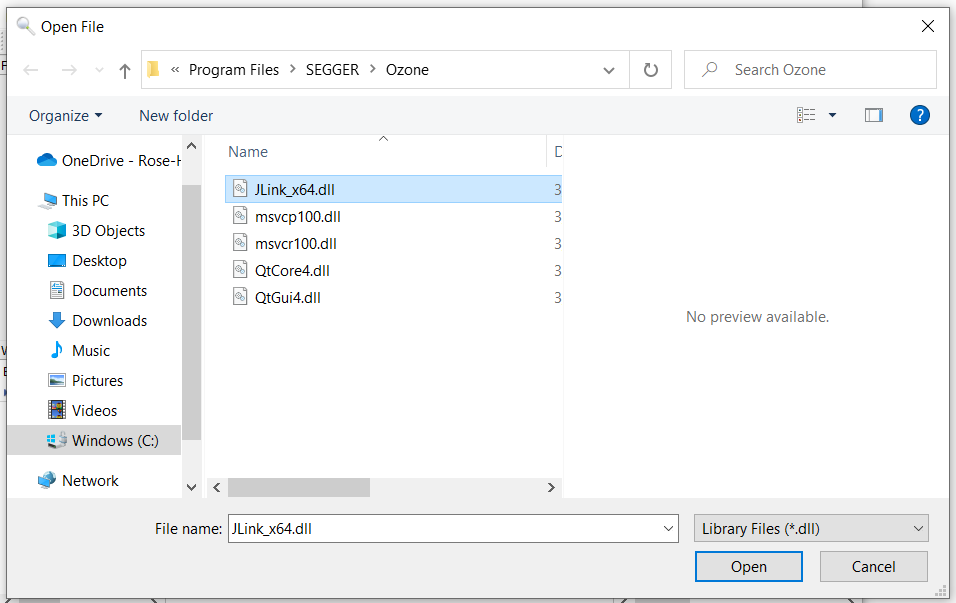
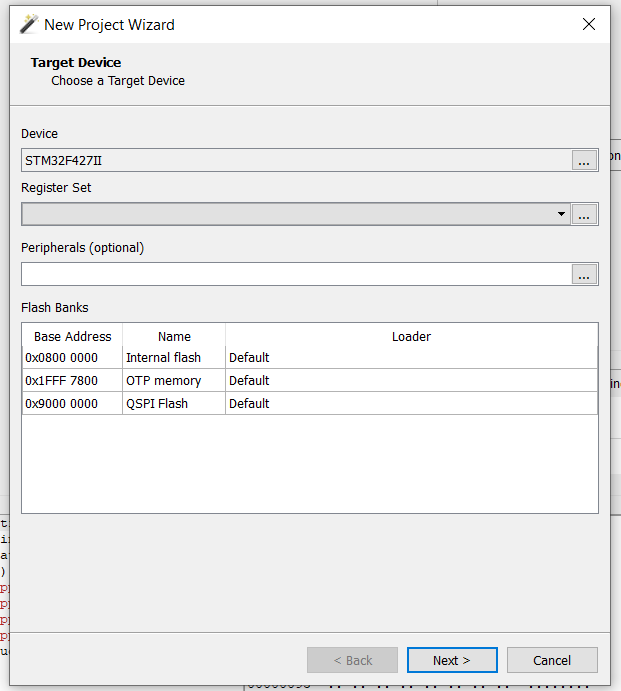
Now you need to tell it which board you are going to be using the J-Link on. Our dev boards are “STM32F427II”. So choose this device.
- Now you need to specify which interface and how fast you want to talk to the dev board with. Choose “SWD” and any interface speed works. I just left it at the default 4 MHz.

Now we need to give it a file for Ozone to run off of. Similar to the file VSCode reads, but a little different as it needs to be compiled already. The following steps are taken directly from the previously mentioned tutorial. 1.


xYou should now be set up to be able to live graph stuff! Go back to the beginning of this tutorial to see what to do next.
If you get an error thats similar to “No probe connected via usb”, it is likely you just don’t have the driver for the J-Link. So you may need to go into the device manager, check this. Also go to where the program was installed, and under Segger/USBDriver run the driver installer.